How to prepare CAD drawings for 3D visualization? A guide for architects
How to prepare CAD, Revit or SketchUp files for 3D visualization? A complete guide for architects — formats, tips, level of detail and a checklist.
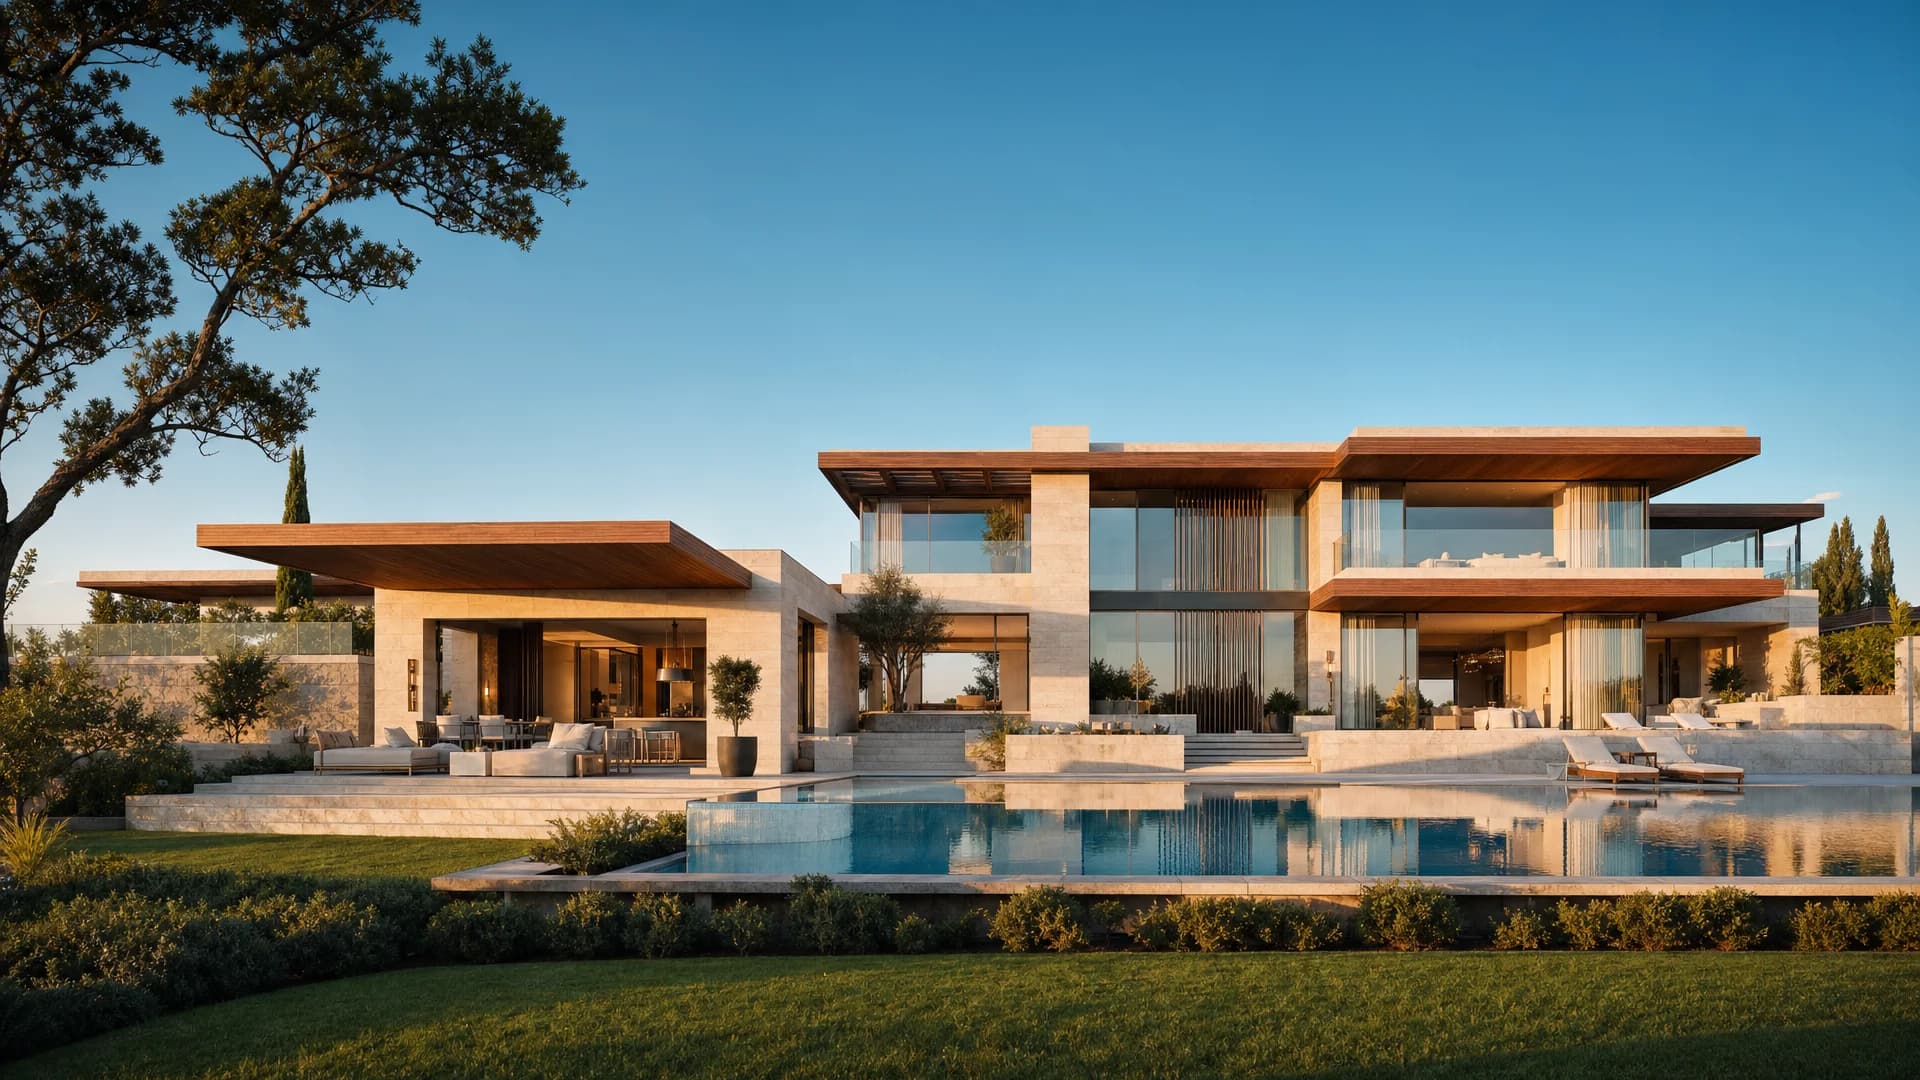
A good 3D visualization starts with good input data. As an architect or designer, you play a key role — the quality of the CAD drawings you send to the studio directly affects the speed, price and quality of the final render.
In this guide we explain how to prepare your files so the 3D artist gets everything they need.
Why does file preparation matter?
Incomplete or non-standard documentation leads to:
- Extra iterations — more time and cost
- Misinterpretations — the render does not match the design
- Longer deadlines — documentation gets requested after the fact
- Higher prices — the studio bills the extra time
Good preparation cuts costs by 20–40% and speeds up the process by 30–50%.
6 steps to perfect preparation
Step 1: Choose the right format
| Format | Recommendation |
|---|---|
| DWG/DXF (AutoCAD) | ✅ Best — all dimensions and layers |
| RVT (Revit) | ✅ Contains BIM data |
| SKP (SketchUp) | ✅ If the model is detailed |
| ❌ For orientation only | |
| Images (JPEG/PNG) | ❌ Not precise enough |
Recommendation: DWG is the universal standard that every 3D studio supports.
Step 2: Organise the layers
Well organised layers are the most important part of the preparation. We expect:
| Layer | What it contains |
|---|---|
| Walls (load-bearing) | Concrete, block, brick |
| Walls (partitions) | Drywall, glass |
| Floors | Levels, materials |
| Ceilings | Suspended, flat |
| Joinery | Windows, doors |
| Furniture | Fixed elements |
| Installations | Electrical, plumbing |
| Dimensions | Dimension lines |
Tip: Clean the drawing of unnecessary layers (grid lines, notes, construction lines).
Step 3: Define the materials
List the materials for every surface. The easiest ways:
- In the DWG drawing: Write the material on each surface (e.g. "oak parquet", "ceramic tile 60x60")
- In a separate document: An Excel list of rooms and materials
- References: Send 1–3 images per material (a reference, not an exact match)
Step 4: Provide site photos
If we are working on an existing building, send photos of:
- All rooms from several angles
- The exterior of the building
- The surroundings — neighbouring buildings, the street
- Details — moulding profiles, handrails, radiators
Photos help the 3D artist understand the spatial relationships and the existing condition.
Step 5: Define the camera angles
Specify precisely which angles should be rendered:
- A floor plan with camera markers — angle and direction of view
- Camera height — typically 150–170cm
- Type of shot — wide, medium, detail
An example of a good specification:
"Camera 1 — living room, wide shot from the front-door corner, height 160cm, showing the whole space"
Step 6: Provide a moodboard
A moodboard with references helps the 3D artist capture your vision:
- 3–5 reference images of the desired style
- A colour palette (you can use Adobe Color or Coolors)
- Lighting examples (daylight/artificial/ambient)
File submission checklist
Before sending your files to the studio, run through this list:
- DWG files are cleaned and organised
- All layers are properly named
- Materials are noted on the drawing
- Material reference images are attached
- Camera angles are defined
- A moodboard or style guide is attached
- Photos of the existing condition are provided (for reconstructions)
- The deadline and expectations are clearly stated
The most common mistakes
| Mistake | Consequence | How to avoid it |
|---|---|---|
| Too much detail | Slow file loading | Filter the layers |
| Too little information | Misinterpretation | Use the checklist |
| Old formats | Poor compatibility | DWG 2018+ |
| No references | Lost time | 5 reference images |
How do we work at Elegant Render?
Our process is simple:
- Send the CAD drawings — via the form on the site or by email
- Consultations — we clarify the details and needs
- Quote — you get the price and deadline within 24h
- Modelling — the 3D model and camera setup
- Rendering — the photoreal visualization
- Revisions — 2–3 iterations included in the price
Conclusion
Well prepared CAD drawings are the ticket to a first-class 3D visualization. Invest a little time in organising your files and save time, money and nerves — your 3D studio will thank you.
Have CAD drawings ready for visualization? Send them over — we will give you a quote within 24 hours.