Best practices for photographing real estate before 3D editing
How to prepare real estate photos for AI editing and 3D visualization? Tips on lighting, framing and resolution used by professionals.
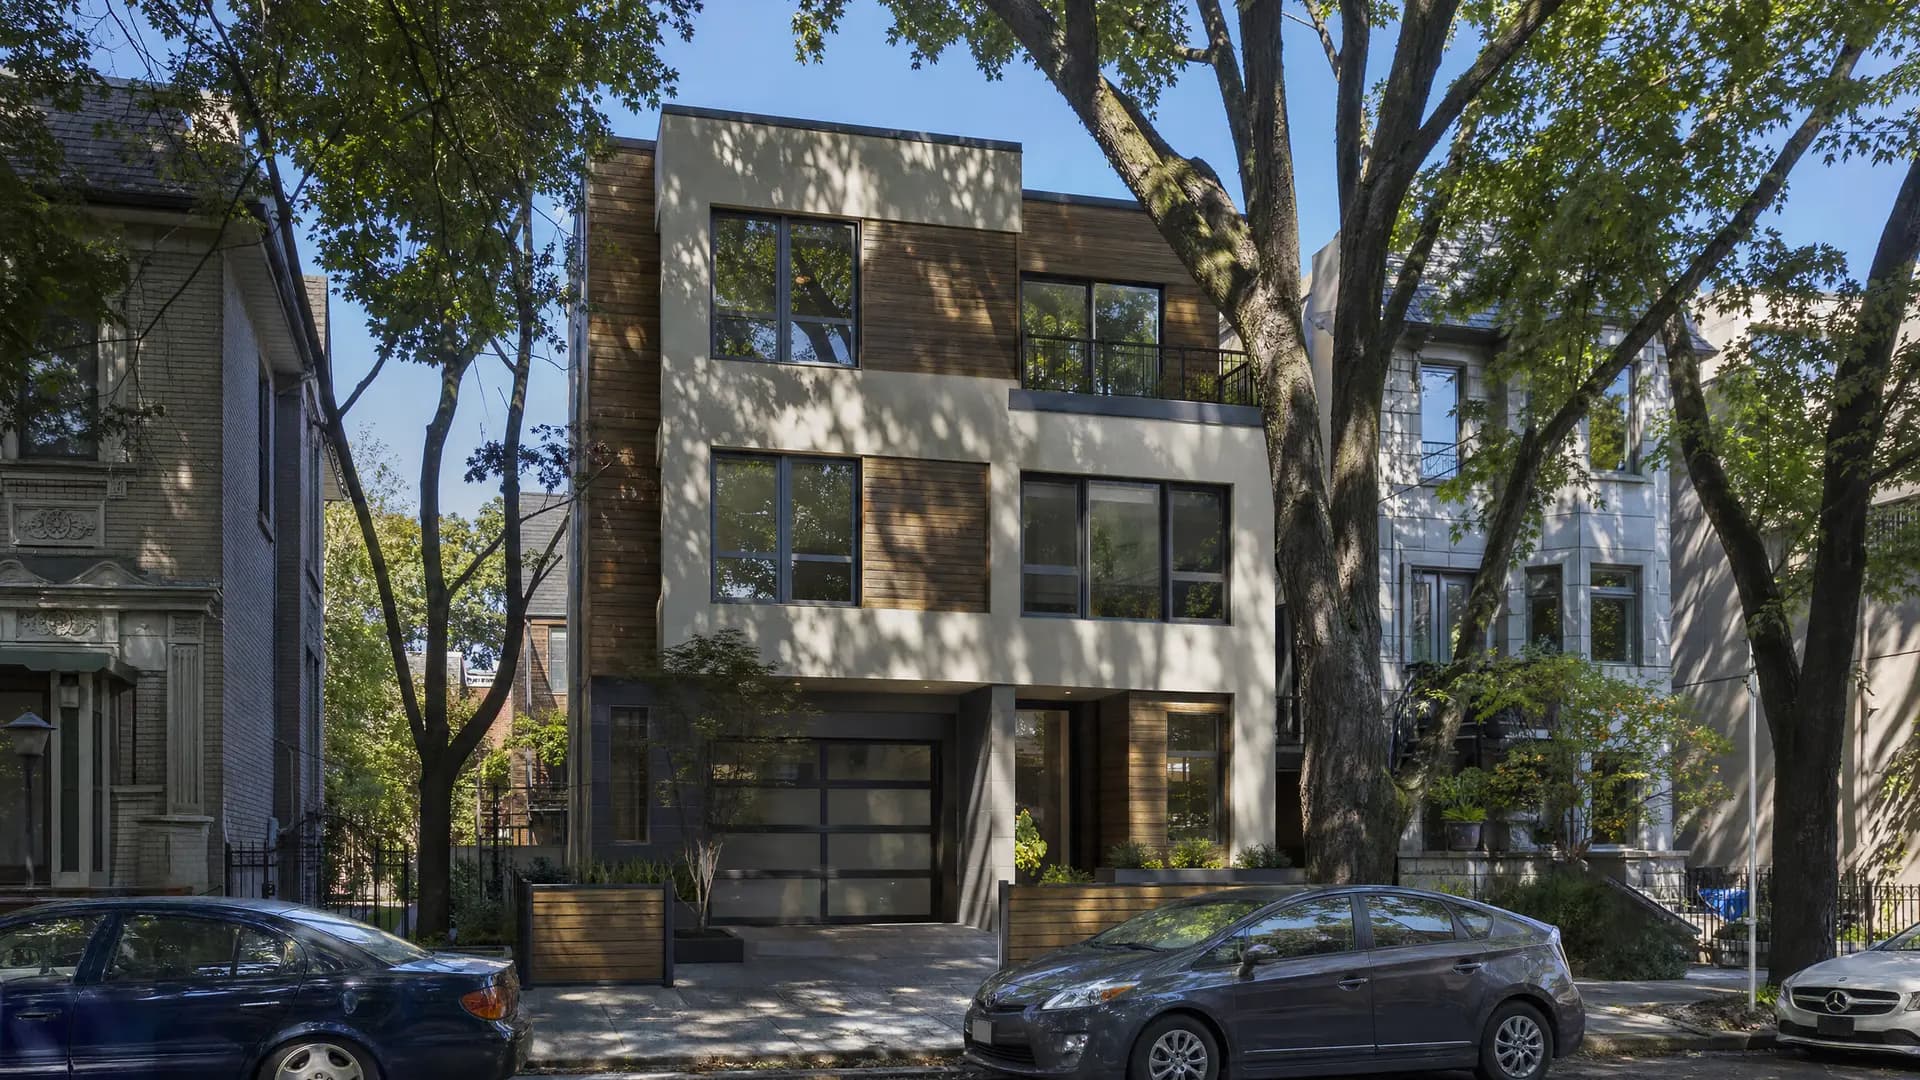
A good photo is the foundation of every good 3D visualization. Whether you use AI Studio to edit existing photos or order a full 3D render, the quality of the input material directly affects the final result.
In this guide we will show you how to take photos that produce the best editing results.
Why does preparation matter?
Bad photos = a bad result, even with the best AI tools. Problems we see often:
- Blurry photos — AI cannot add detail that does not exist
- Bad lighting — too many shadows or a washed-out sky
- Wrong perspective — skewed walls and lines
- Clutter in the frame — personal items, cables, tools
A good source photo means less rework and a better result.
5 key rules for the shoot
1. Lighting is everything
Shoot in the morning or late afternoon when the light is soft and diffuse. Avoid the midday sun, which creates harsh shadows.
- Use natural light whenever possible
- Turn on all the lights in the room for a balanced exposure
- Avoid pointing the camera straight into a window
2. A stable camera = a sharp photo
Use a tripod — it is the only way to get perfectly sharp photos. Without one, even the best cameras suffer from micro-movement that causes blur.
- ISO: 100–800 (the lower the better)
- Shutter speed: at least 1/60 (slower on a tripod)
- Aperture: f/8–f/11 for maximum sharpness
3. Correct perspective
Keep the camera level both horizontally and vertically. Photos with skewed lines need extra correction in Photoshop.
- Camera height: around 150cm (eye level)
- Angle: slightly downward for interiors, straight-on for facades
- Avoid ultra-wide lenses that create distortion
4. Remove everything unnecessary
Before you press the shutter, remove:
- Personal items (toothbrushes, glasses, papers)
- Cables and extension cords
- Rubbish and clutter
- Mismatched pieces of furniture
Tip: Make the room look like a showroom — clean, tidy, minimal.
5. Resolution and format
Shoot at the highest resolution your camera supports.
| Parameter | Recommendation |
|---|---|
| Resolution | At least 4000px on the long edge |
| Format | JPEG (quality 95%+) |
| Colours | sRGB or AdobeRGB |
| Battery | Two full batteries |
How does AI Studio process your photos?
Elegant Render AI Studio uses advanced AI models for:
- Background removal — automatic object isolation
- Sky replacement — a realistic sky for exteriors
- Lighting enhancement — exposure balancing
- Object removal — erasing unwanted elements
The better the source photo, the faster and more natural the AI edit will be.
Common mistakes and how to avoid them
| Mistake | Fix |
|---|---|
| Zoomed in too far | Use a 24–35mm lens |
| Dark shadows | Add fill light |
| Cropped furniture | Take a wider frame, crop later |
| Yellow tones | Set the white balance (daylight mode) |
An example of a good photo
A good photo for editing should be:
- Sharp and stable
- Evenly lit
- Free of distortion
- Of a tidy space
- In high resolution
If you need professional photo editing, Elegant Render AI Studio can turn even average photos into sales material. Send us your photos for editing.